


Explore by Category:
Performance
Continuous performance checks in Nuxt.js with Lighthouse CI and Github Actions

Performance optimization is an area of software development that you will most probably meet at some point in your professional career. In this tutorial, I won't be talking about how you can improve the performance of your Vue.js or Nuxt.js applications - it is explained very well in the tutorial series written by our man Filip Rakowski, CTO of Alokai. In his series, he provides many tips and tricks on how you could improve the performance of your website.
Technical Whitepaper

These recommendations will increase the performance of your application. However, you have to measure it constantly to ensure that any other future site features will improve the performance and this is exactly what we will be talking about in this article.
In this article, I will explain how you can integrate Lighthouse CI into Github Actions to continuously measure the performance of your Nuxt.js application.
You can do it the old-fashioned way by running Lighthouse in your browser each time you want to make a change to your website. This will require time, and the results of such tests may differ drastically from one another, as developers may be running audits on different devices. The better approach here would be to implement a Continuous Integration script that would conduct these Lighthouse audits for us. Thankfully, there are already tools available that you can use to achieve that.
For this tutorial, I will be using Nuxt.js, Lighthouse CI, and Github Actions, but you can adjust it to your code repository workflows. Here, I won't be covering assertions and budgets, but I will create separate articles soon (Oops, spoilers).
Nuxt.js
Let's create a simple Nuxt.js project with the below command:
```bash
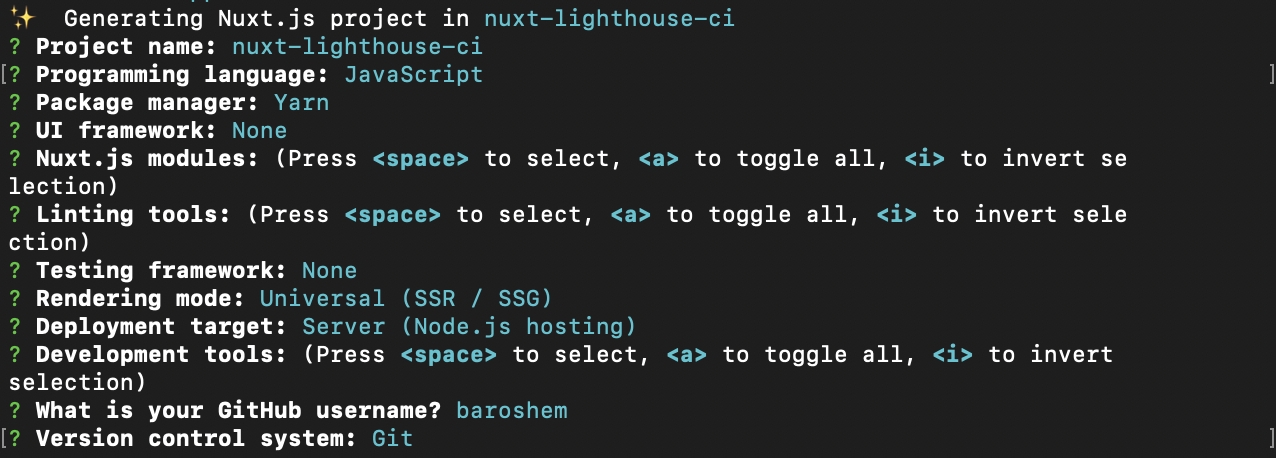
yarn create nuxt-app
``` For the sake of this tutorial, we will generate a basic Nuxt.js project with just a homepage.
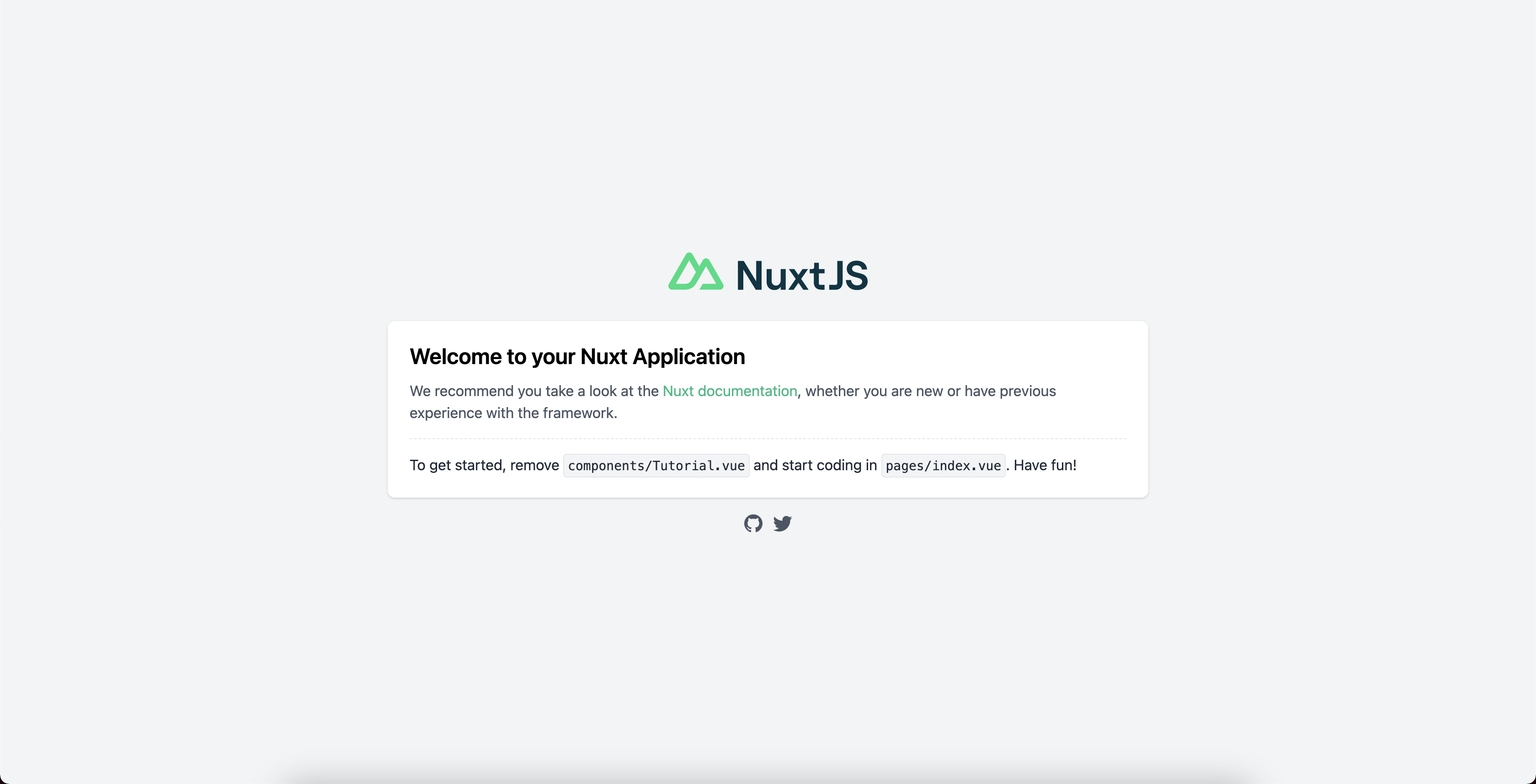
Navigate to your project, run it, and check if everything works as expected:
```bash
cd
yarn dev
```
Lighthouse
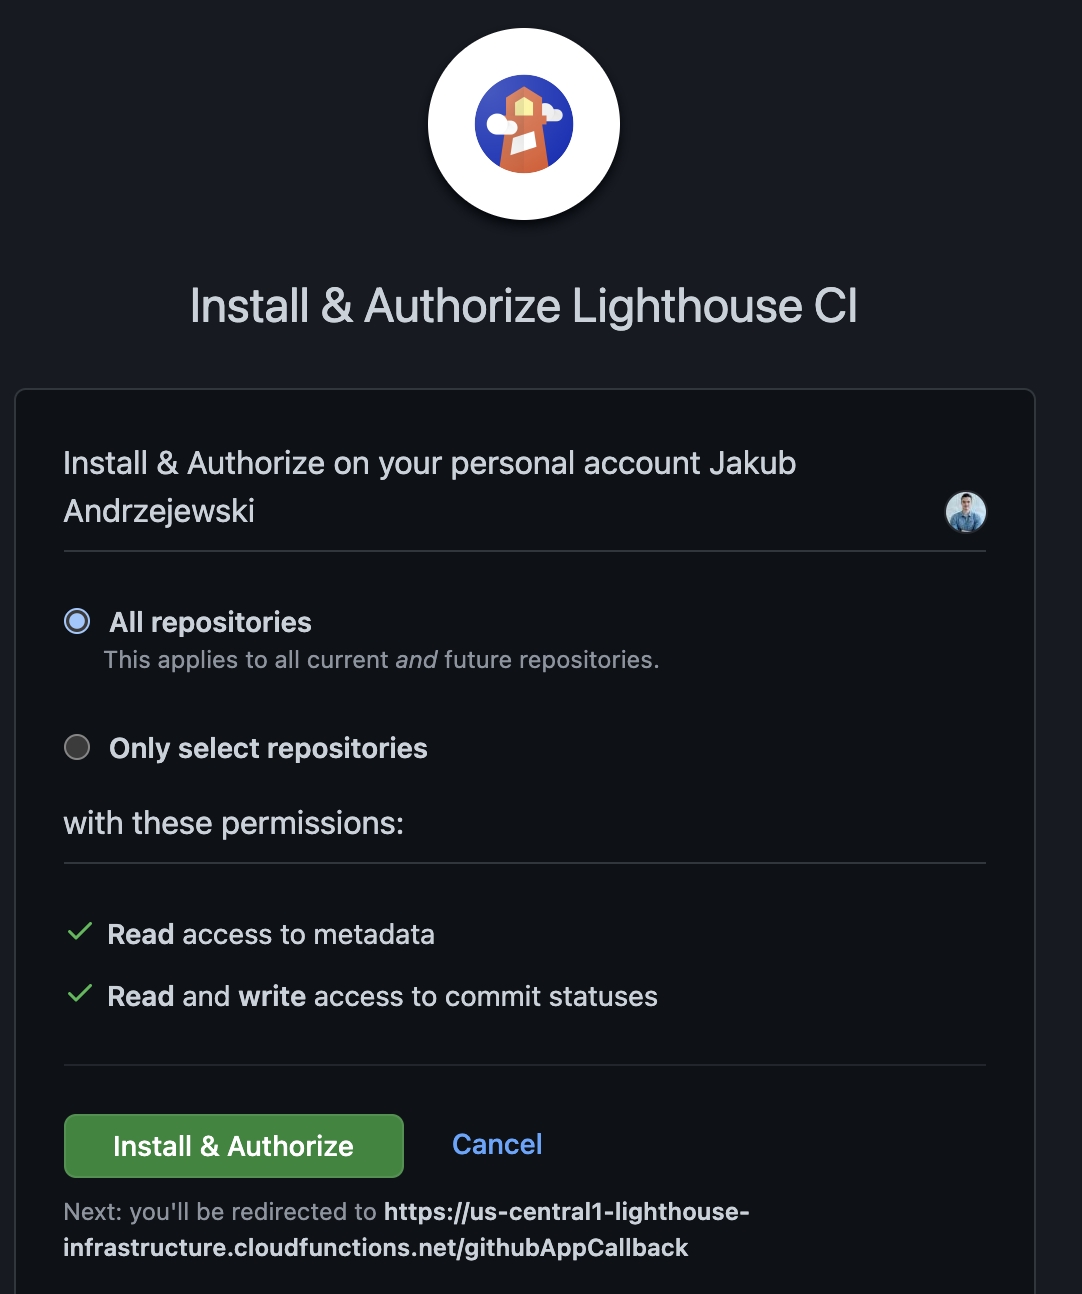
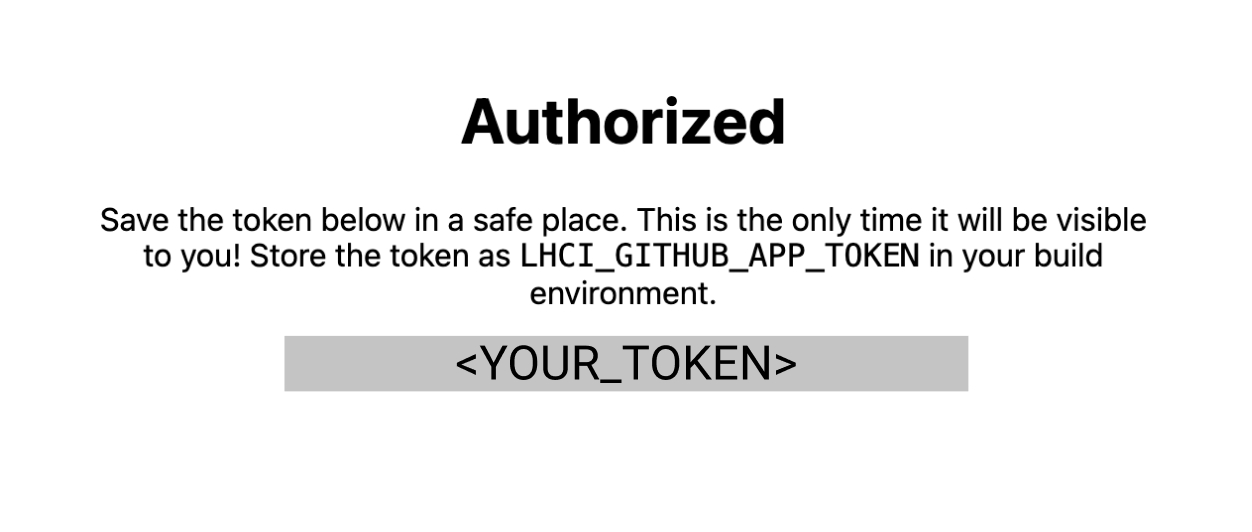
You will need to install and authorize the Lighthouse CI application for Github. Make sure to copy the generated LHCI_GITHUB_APP_TOKEN as we will need it later.
After authorization, you should see a page like this:
In your project, install the `@lhci/cli` package.
```
yarn add -D @lhci/cli
```
Next, add Lighthouse CI commands to your package.json (for CI and local testing)
// package.json

...
  "scripts": {
    "dev": "nuxt",
    "build": "nuxt build",
    "start": "nuxt start",
    "generate": "nuxt generate",
    "lhci:mobile": "lhci autorun",
    "lhci:desktop": "lhci autorun --collect.settings.preset=desktop"
  },
Create `lighthouserc.json` with configuration for Lighthouse CI. You can see all configuration options on this page .
```json
// lighthouserc.json

{
  "ci": {
    "collect": {
      "startServerCommand": "yarn build && yarn start",
      "url": ["http://localhost:3000/"],
      "numberOfRuns": 3
    },
    "upload": {
      "target": "temporary-public-storage"
    }
  }
}
```
Let's stop for a second here to explain how we are configuring the Lighthouse to conduct audits.
collect:
- `startServerCommand` - a command that we want Lighthouse to use to start testing. In our case, we will build our Nuxt project for production and start it.
- `url` - An URL address on which Lighthouse should conduct audits. For the sake of this tutorial, we will be using http://localhost:3000/ to test just the homepage, but you can also set up other routes here like http://localhost:3000/categories.
- `numberOfRuns` - A number that defines how many times Lighthouse should test the selected URL and create a median out of these results.
upload:
- `target` - where do we want to upload the result of our Lighthouse audit report. By default is set to temporary- public-storage
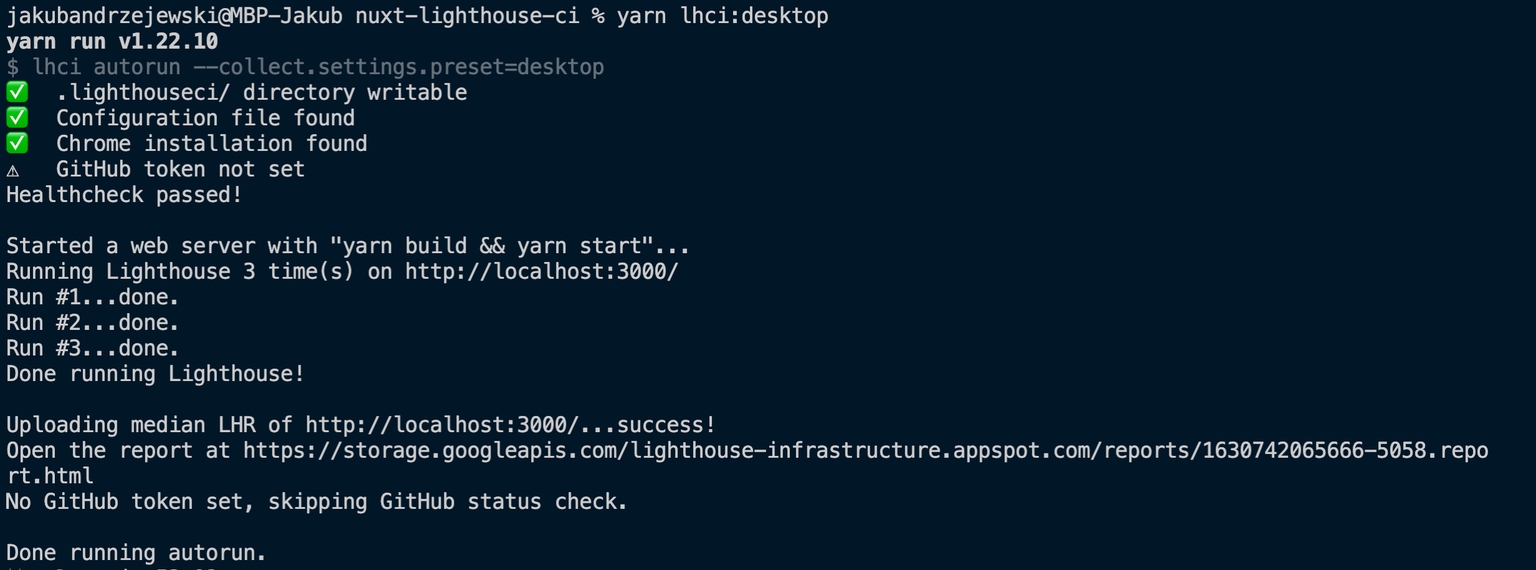
Test if the Lighthouse audit is working as expected:
```bash
yarn lhci:desktop
```
The command should log the following result:
When you visit the link that the Lighthouse created in the terminal, you should see something like this:

Well done! Now you have successfully conducted Lighthouse audit locally. As our final step, we will create a Github workflow to run Lighthouse CI on every pull request to `main` branch.
```yml
name: CI
on:
  pull_request:
    branches:
      - main
jobs:
  lighthouse:
    name: Lighthouse CI
    runs-on: ubuntu-latest
    steps:
      - name: Checkout code
        uses: actions/checkout@v2
        with:
          ref: ${{ github.event.pull_request.head.sha }}

      - name: Install dependencies
        run: yarn

      - name: lighthouse mobile audit
        run: yarn lhci:mobile
        env:
          LHCI_GITHUB_APP_TOKEN: ${{ secrets.LHCI_GITHUB_APP_TOKEN }}

      - name: lighthouse desktop audit
        run: yarn lhci:desktop
        env:
          LHCI_GITHUB_APP_TOKEN: ${{ secrets.LHCI_GITHUB_APP_TOKEN }}
```
With this workflow implemented, whenever we create a pull request to the `main` branch, we will automatically trigger a Github Action conducting Lighthouse audits.
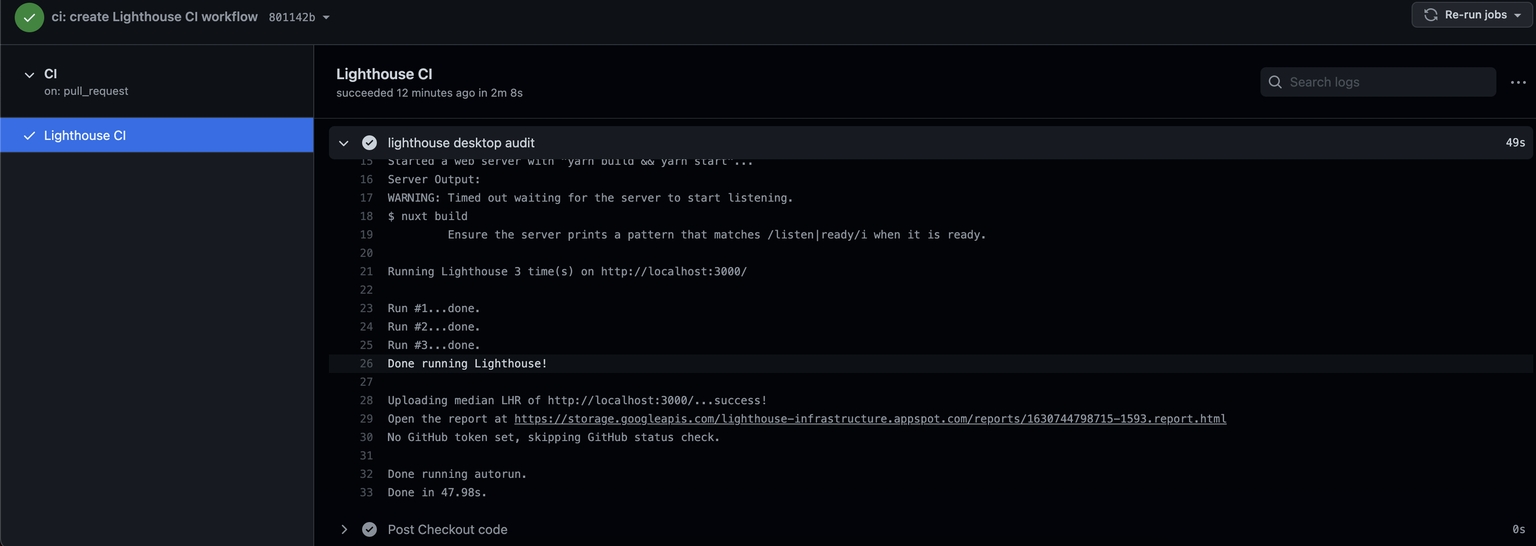
Remember the step about authorizing the Lighthouse application for Github? If you do not have a secret in your repository, you would still trigger Github Action, but it will not include a nice-looking status check from Lighthouse with all metrics. No worries, you would still be able to see the report, but you would have to go to the details of the action and go to the link directly.
When we add a token in repository settings, it should be visible like this:

To confirm that we did all steps correctly, we should see a status report from Lighthouse directly in the Github Actions output of a pull request.
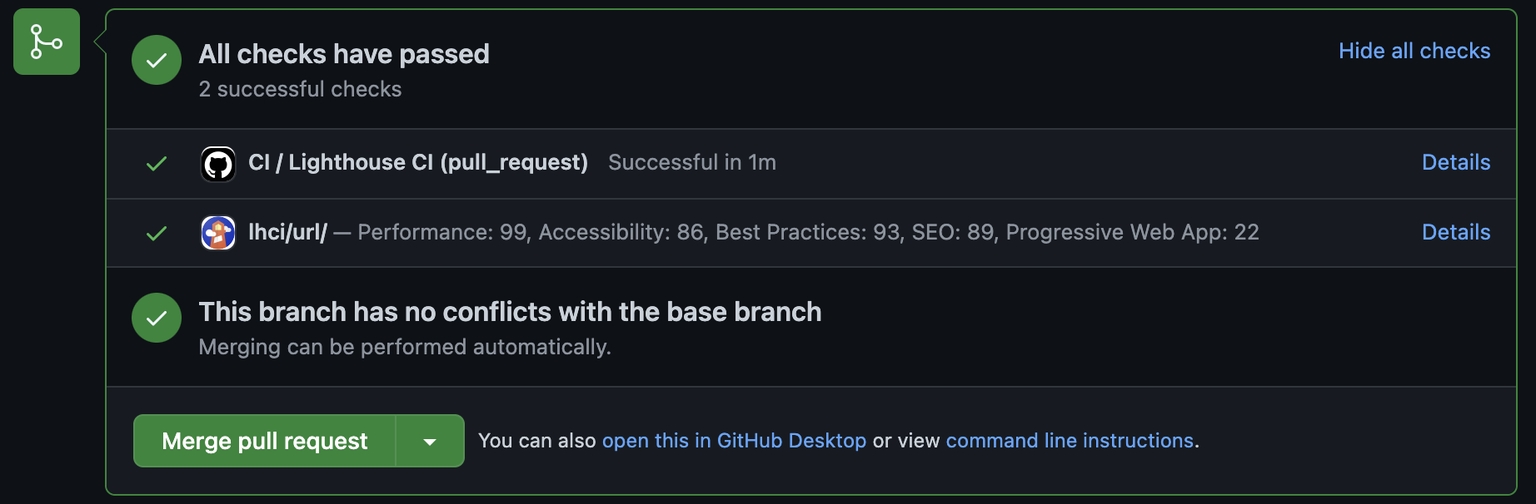
Keep in mind that the status report from the Lighthouse application for Github will provide only one status report even though we have done two tests (for desktop and mobile devices), so you would have to check the second report manually. If you have found a way to display multiple status reports, please let me know in the comments, and I will update the article accordingly :)
Summary:
You have successfully implemented Lighthouse CI auditing that can are triggered both locally and as a Github Action.
This approach would suit most cases; however, you should be conducting Lighthouse tests on a dedicated server to avoid results being affected by the machine capabilities to achieve more accurate performance audits. In other words, if you are running Lighthouse audits on a repository where there are several pull requests/workflows/pushes going on, the result of this audit may not be accurate, and this is what we want to avoid. For that, you would need a separate machine with Lighthouse Server installed on it. So on a pull request, you would trigger this machine to conduct a performance audit and return the response to your repository.
In the upcoming articles, I will cover setting a performance budget and performance assertions.
Below you can see a demo repository with the code from this article: https://github.com/Baroshem/nuxt-lighthouse-ci
BONUS
Using Github Action instead of npm package
Instead of using the npm package, you could use a Github Action that would essentially do the same thing. The downside to that approach is that you won't be able to test your project locally with Lighthouse (unless you are using a local GitHub Actions package such as https://github.com/nektos/act ).
```yml
name: CI
on:
  pull_request:
    branches:
      - main
jobs:
  lighthouse:
    runs-on: ubuntu-latest
    needs: deploy
    steps:
      - name: Checkout code
        uses: actions/checkout@v2
        with:
          ref: ${{ github.event.pull_request.head.sha }}

      - name: Install dependencies
        run: yarn

      - name: Build and start the project
        run: yarn build && yarn start

      - uses: actions/checkout@v2
      - name: Audit URLs using Lighthouse
        uses: treosh/lighthouse-ci-action@v7
        with:
          urls: http://localhost:3000
          uploadArtifacts: true # save results as an action artifacts
          temporaryPublicStorage: true # upload lighthouse audits to google temporary storage
```
Share:
Share:

More in Performance


Ready to dive in? Schedule a demo
Get a live, personalised demo with one of our awesome product specialists.